Wax seals have been a long time obsession of mine, but I wanted to learn how to make wax seal stamps with less stress and more ease.
Through the years, I have collected ornamental initial stamps, wax sticks and ribbons. Although I loved the way wax seals looked on envelopes, I found I was clumsy with melting/dripping the wax and the final results were unpredictable. It was also a time consuming task. Eventually, I stashed my supplies and found other ways to embellish my letters, cards and gifts.
One day, I was hired to make custom programs for a wedding, and my customer really wanted to incorporate original handmade wax seal stamps. I knew I needed to find an easier way to create the seals in a large quantity!
So, here I am sharing with you how to make wax seal stamps, as well as the tips and tricks I learned along the way!
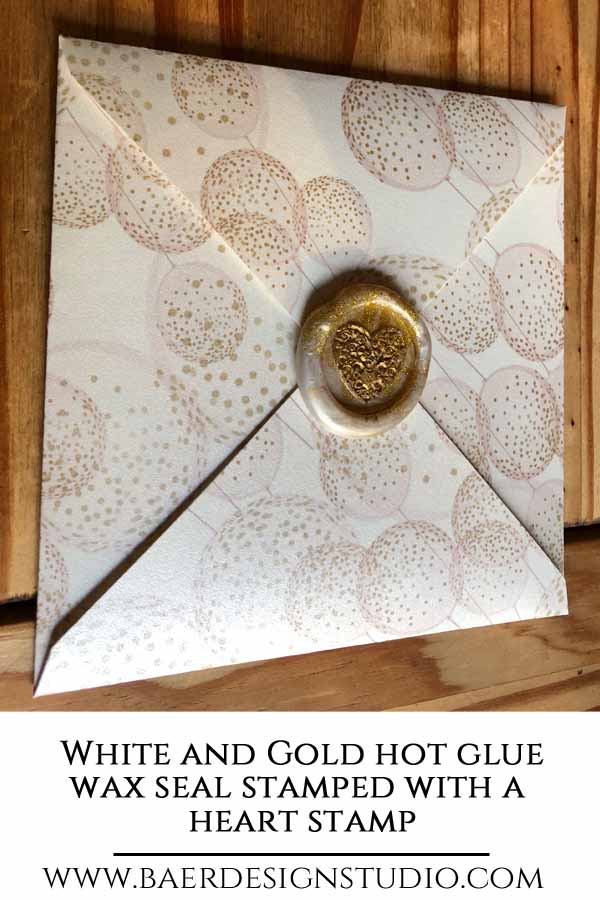
After some research, and purchasing a few new supplies, I decided the easiest and most consistent way to make the seals was to use a glue gun along with colored “wax” aka colored glue sticks.
What I liked best, is that I prepared them in advance on a silicone mat and then attached them to the wedding programs with a few drops of hot glue. This took the pressure off of having to make a perfect seal directly onto the wedding program (thus eliminating waste). So, this is the method I am sharing in this article.
NOTE: if you are sending the envelopes through the mail, you should apply your wax directly to the envelope.
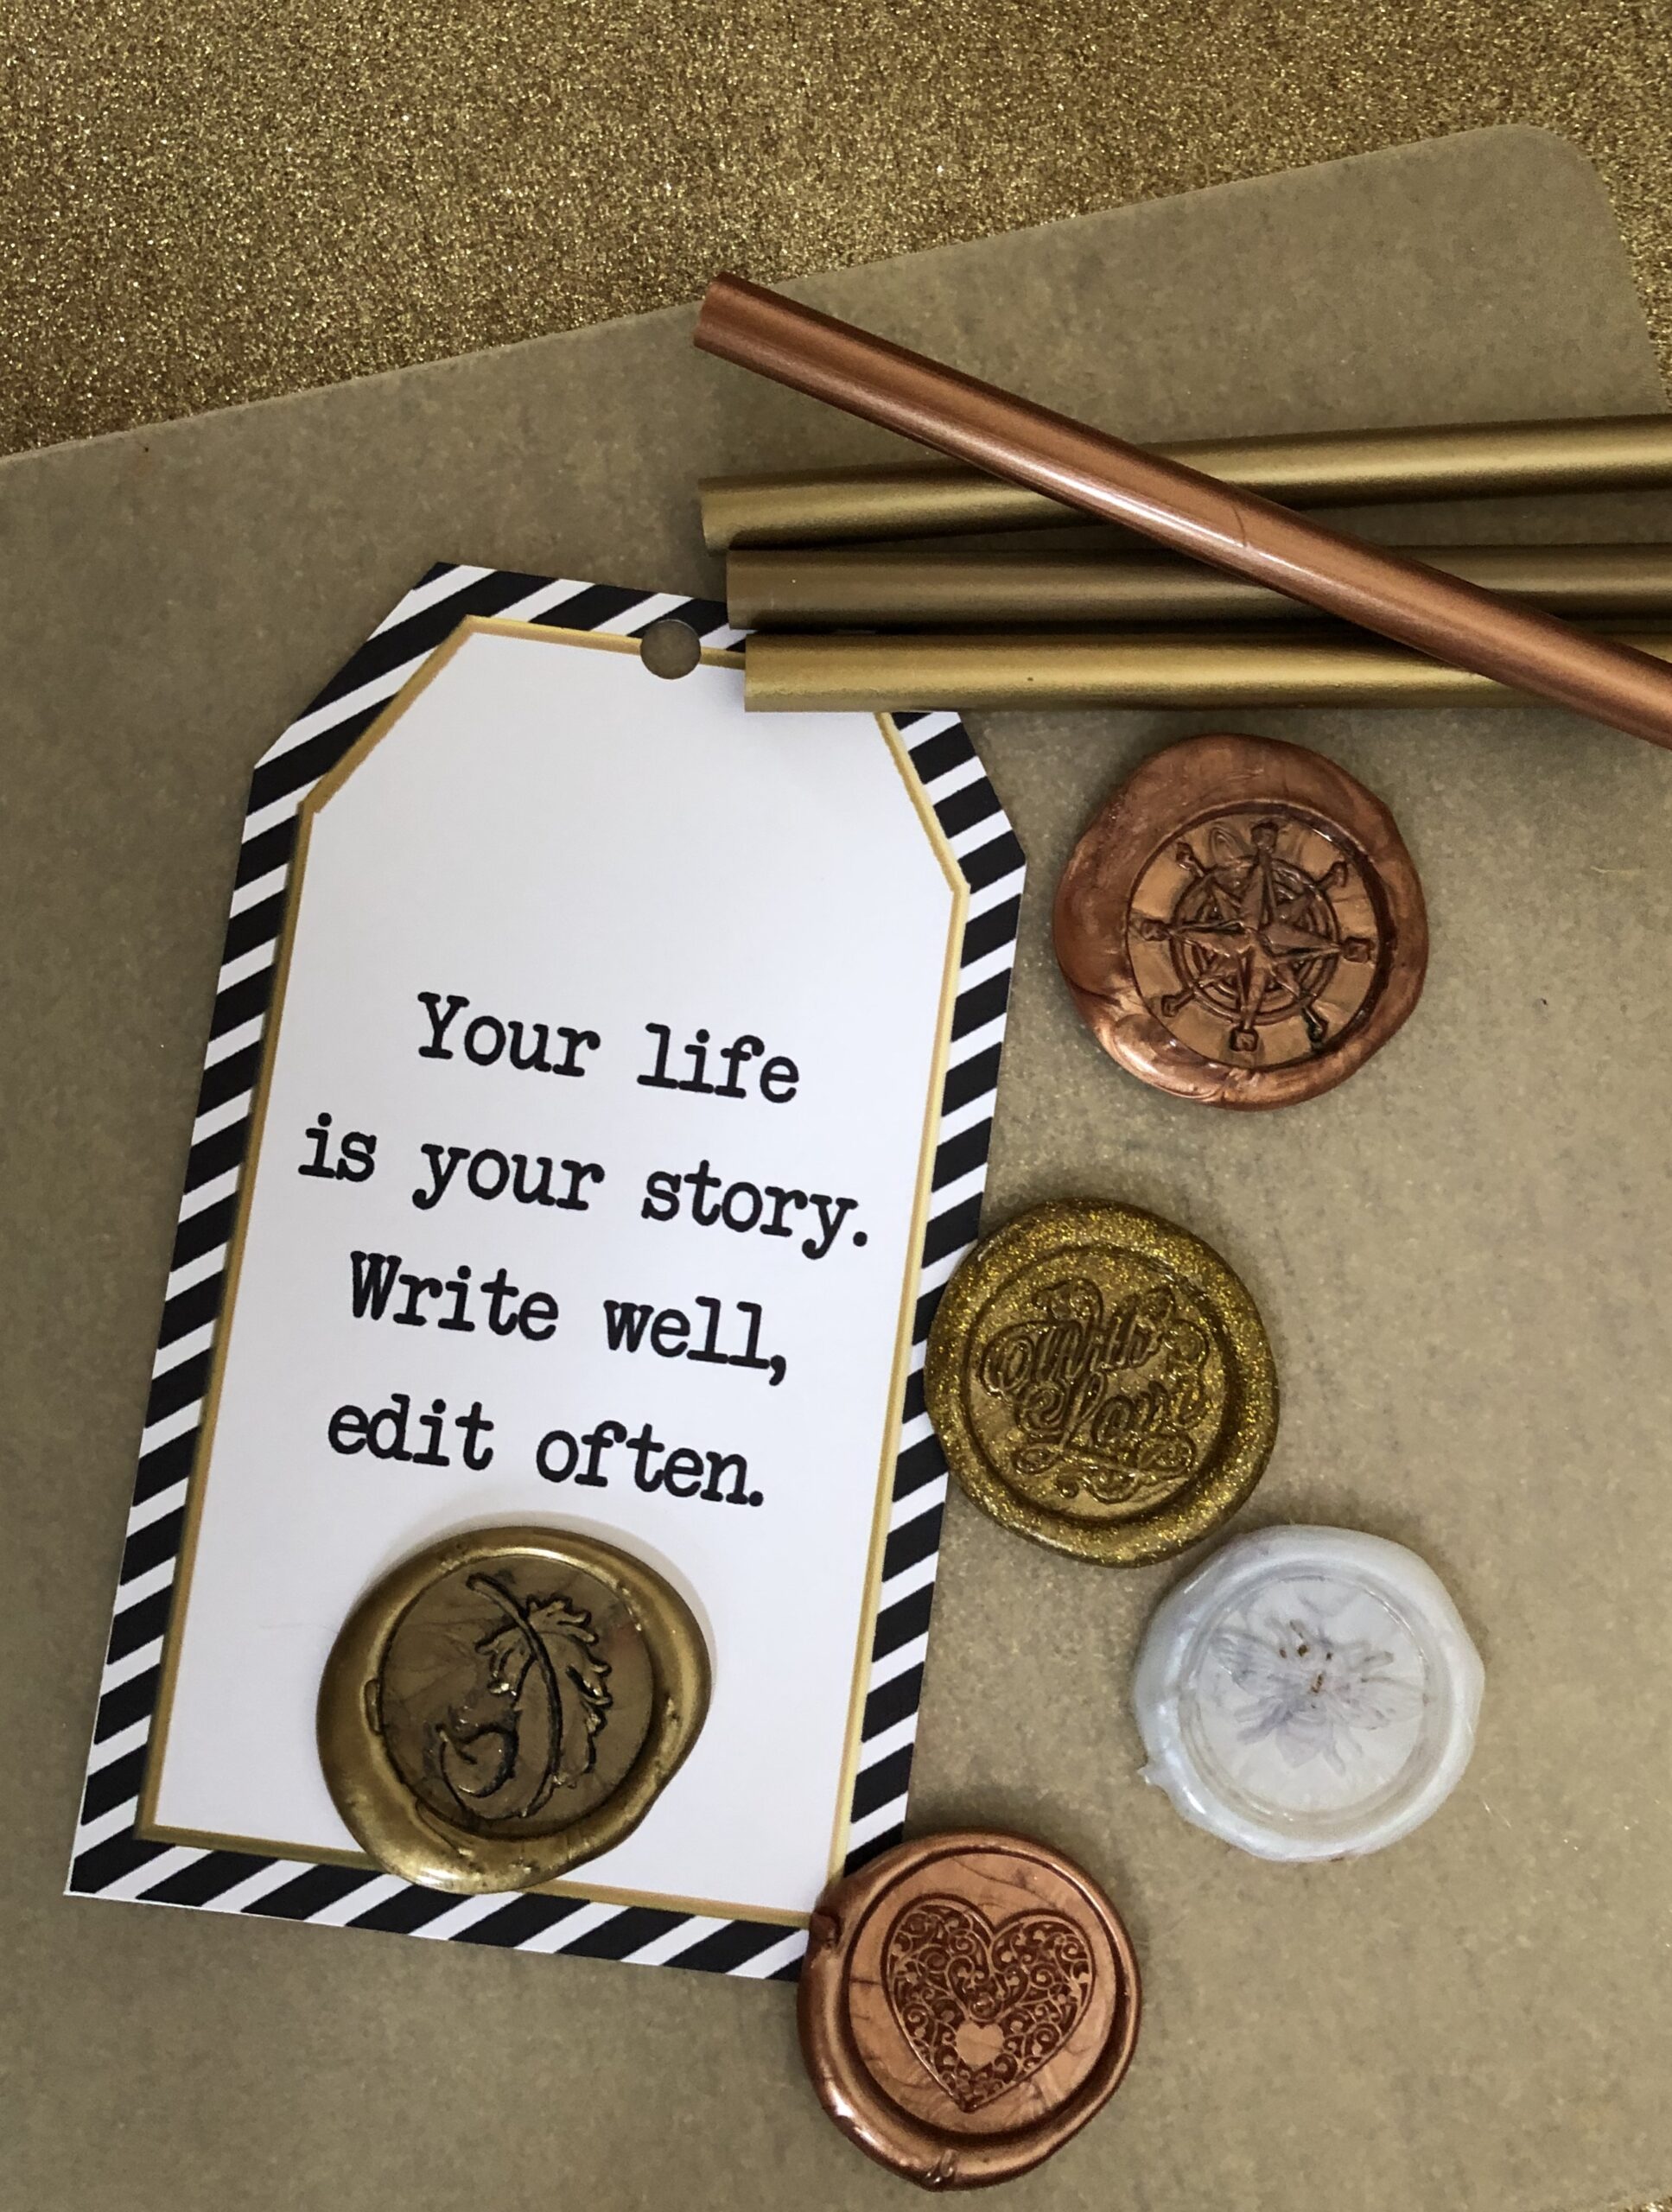
SUPPLY LIST:
20 watt mini Glue Gun https://amzn.to/36hI4ID (there’s an instructional video)
Colored Glue https://amzn.to/31XIYq7
Stamp Kit https://amzn.to/2pp4cA0[BB1]
Card Stock Metallic https://amzn.to/3RpuJ7I
Glue Dots https://amzn.to/2Pw5lRa
Silicone Mat https://amzn.to/3B73REn
Ice pack
DIRECTIONS:
1. Heat up the glue gun. Use the glue gun I listed or a low temp glue gun. Because traditional glue sticks need a higher heat to melt, the glue guns are high temp. Colored glue/wax sticks do not like this high temperature. The colored glue/ wax can jam a glue gun if the temperature is too high. Make sure to use a low temp or dual temp glue gun.
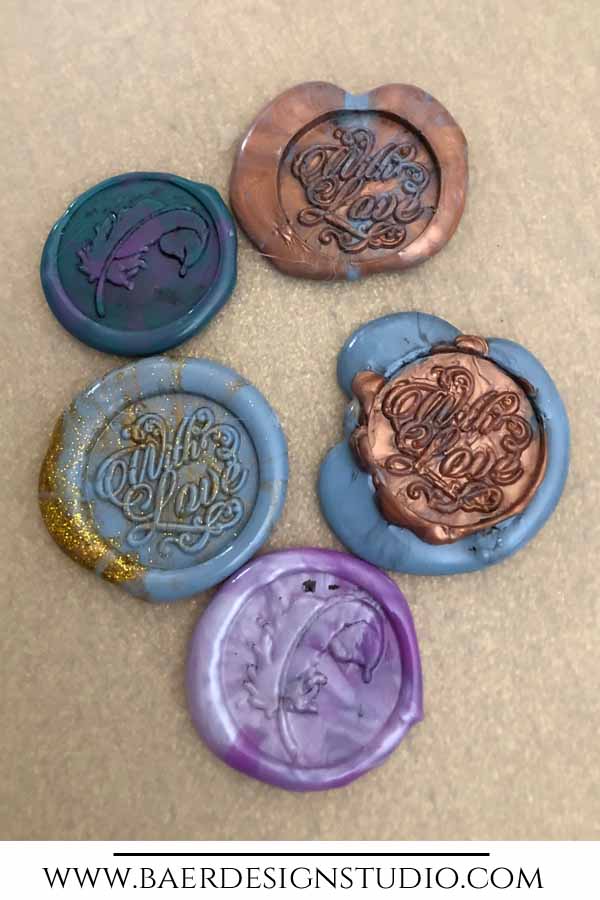
2. Place your silicone mat in front of you. Add the glue stick to your glue gun. Wait a few minutes for it to heat up. NOTE: I have used a wide variety of colored glue/wax through the years. Although I always keep it in stock, I find that my needs change based on the project I am working on. I might need a very specific shade, opaque/metallic/shimmer seal. If you need a specific look, make sure you allow yourself enough time to experiment. I also like to mix colors within one seal to achieve a marble result.
3. Pump the glue gun 2- 4 times to get a small puddle of glue onto the silicone mat. Generally, my puddle is the size of a nickel. I adjust the amount of glue depending on the look of the final wax seal. If I want a cleaner seal, I use a smaller amount of glue. If I want a larger and sloppier seal, I use more glue.

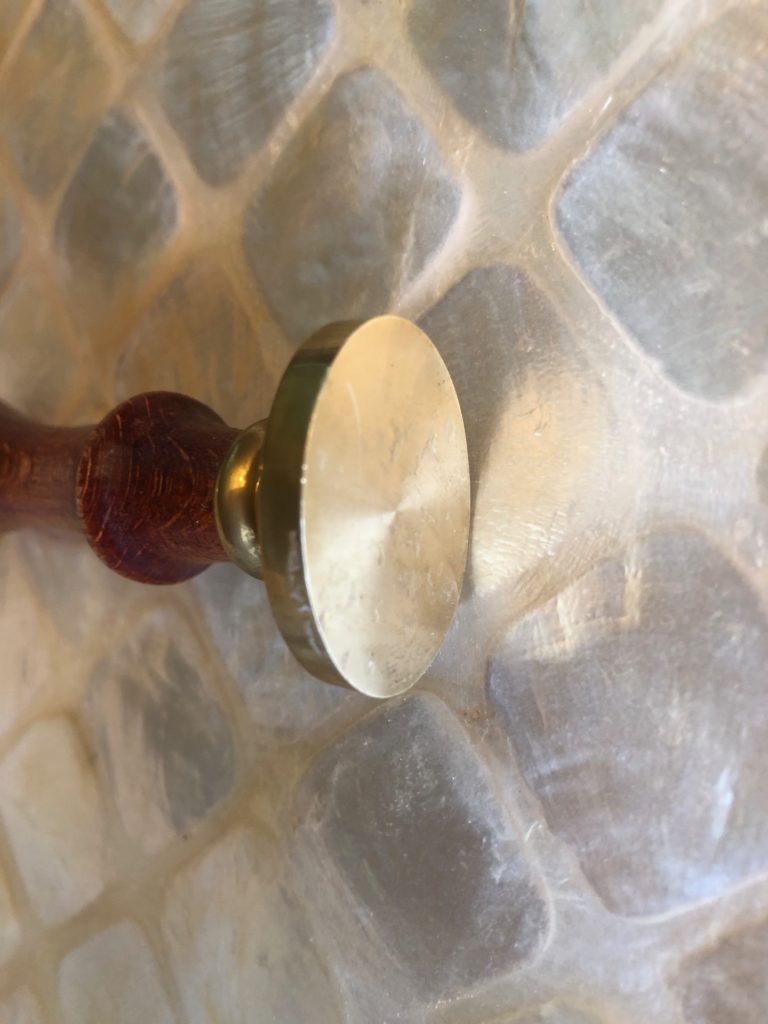
4. Select the stamp for your design. I love the stamp set I referenced in my supplies because I get to choose from 6 different designs. That kit is a great value!
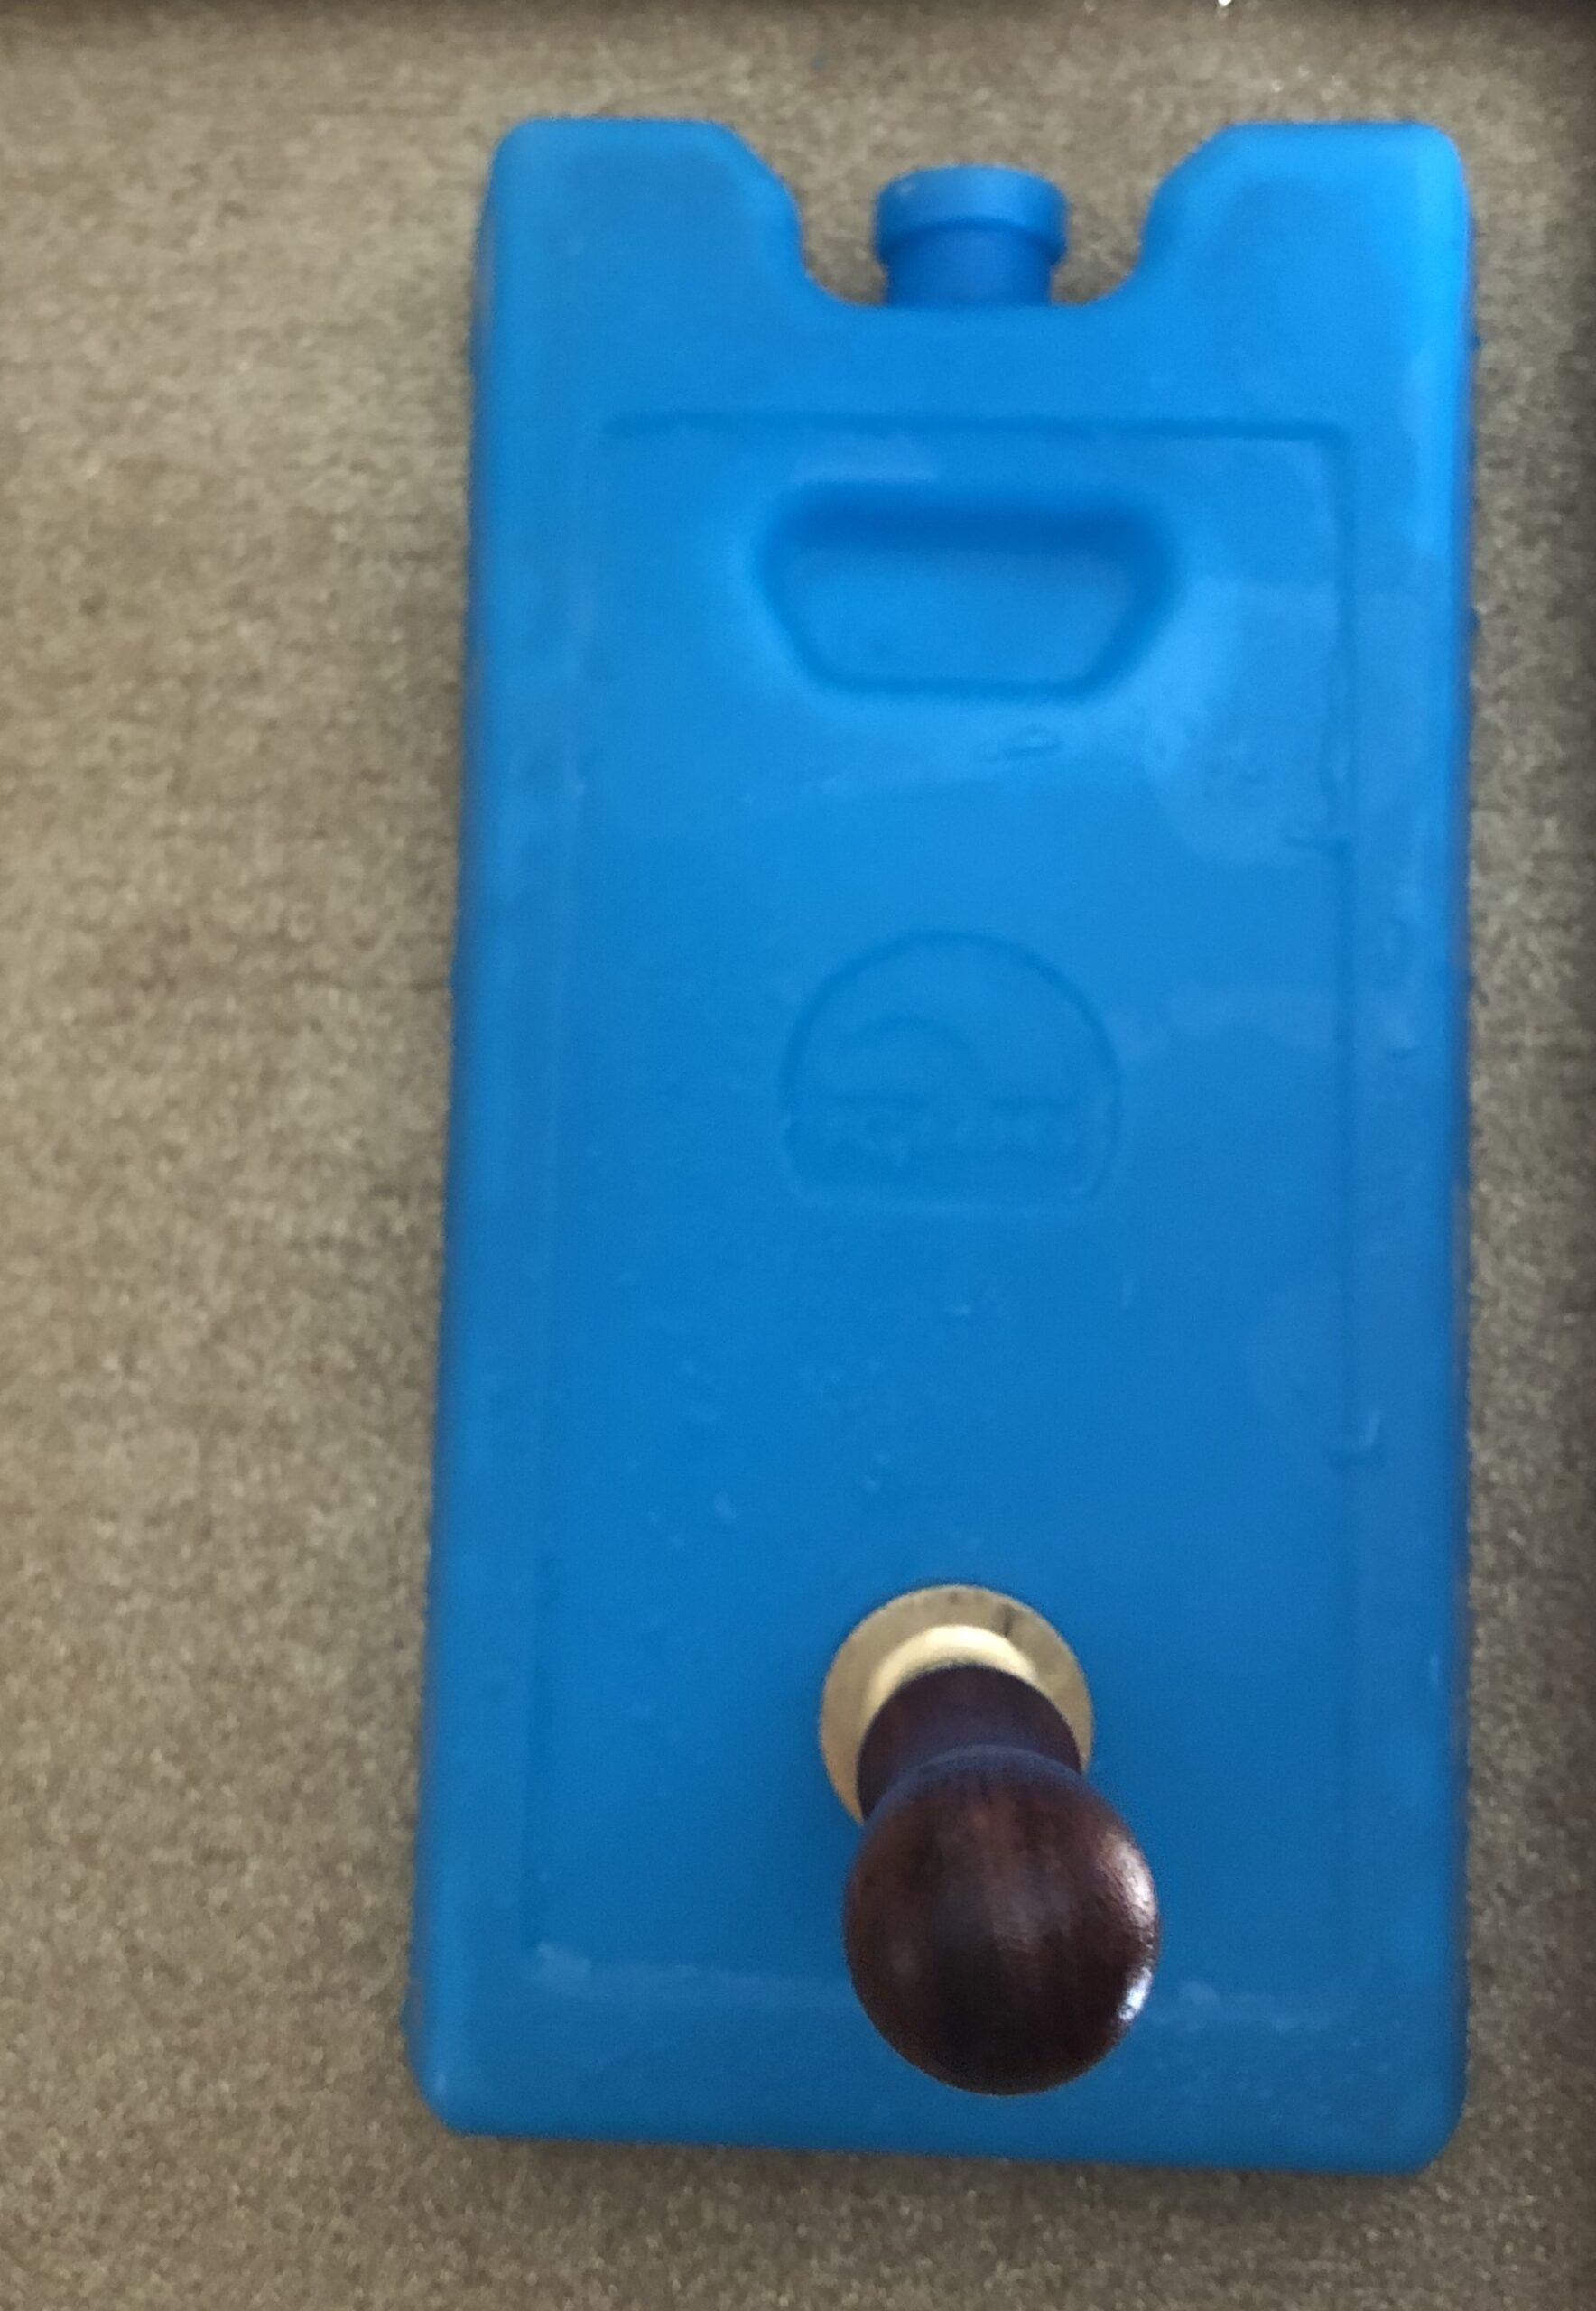
5. Place the stamp onto the ice pack to cool the stamp forabout 30 seconds and then stamp onto the puddle of glue/wax.
6. Wait a few seconds and then lift the stamp. NOTE: THIS IS THE INCONSISTENT PART. How quickly you lift your stamp, will depend on the heat of your glue gun, the type of wax glue you use and how large the puddle. Lift the stamp slowly but if it sticks, let it remain in place a little longer, then lift.
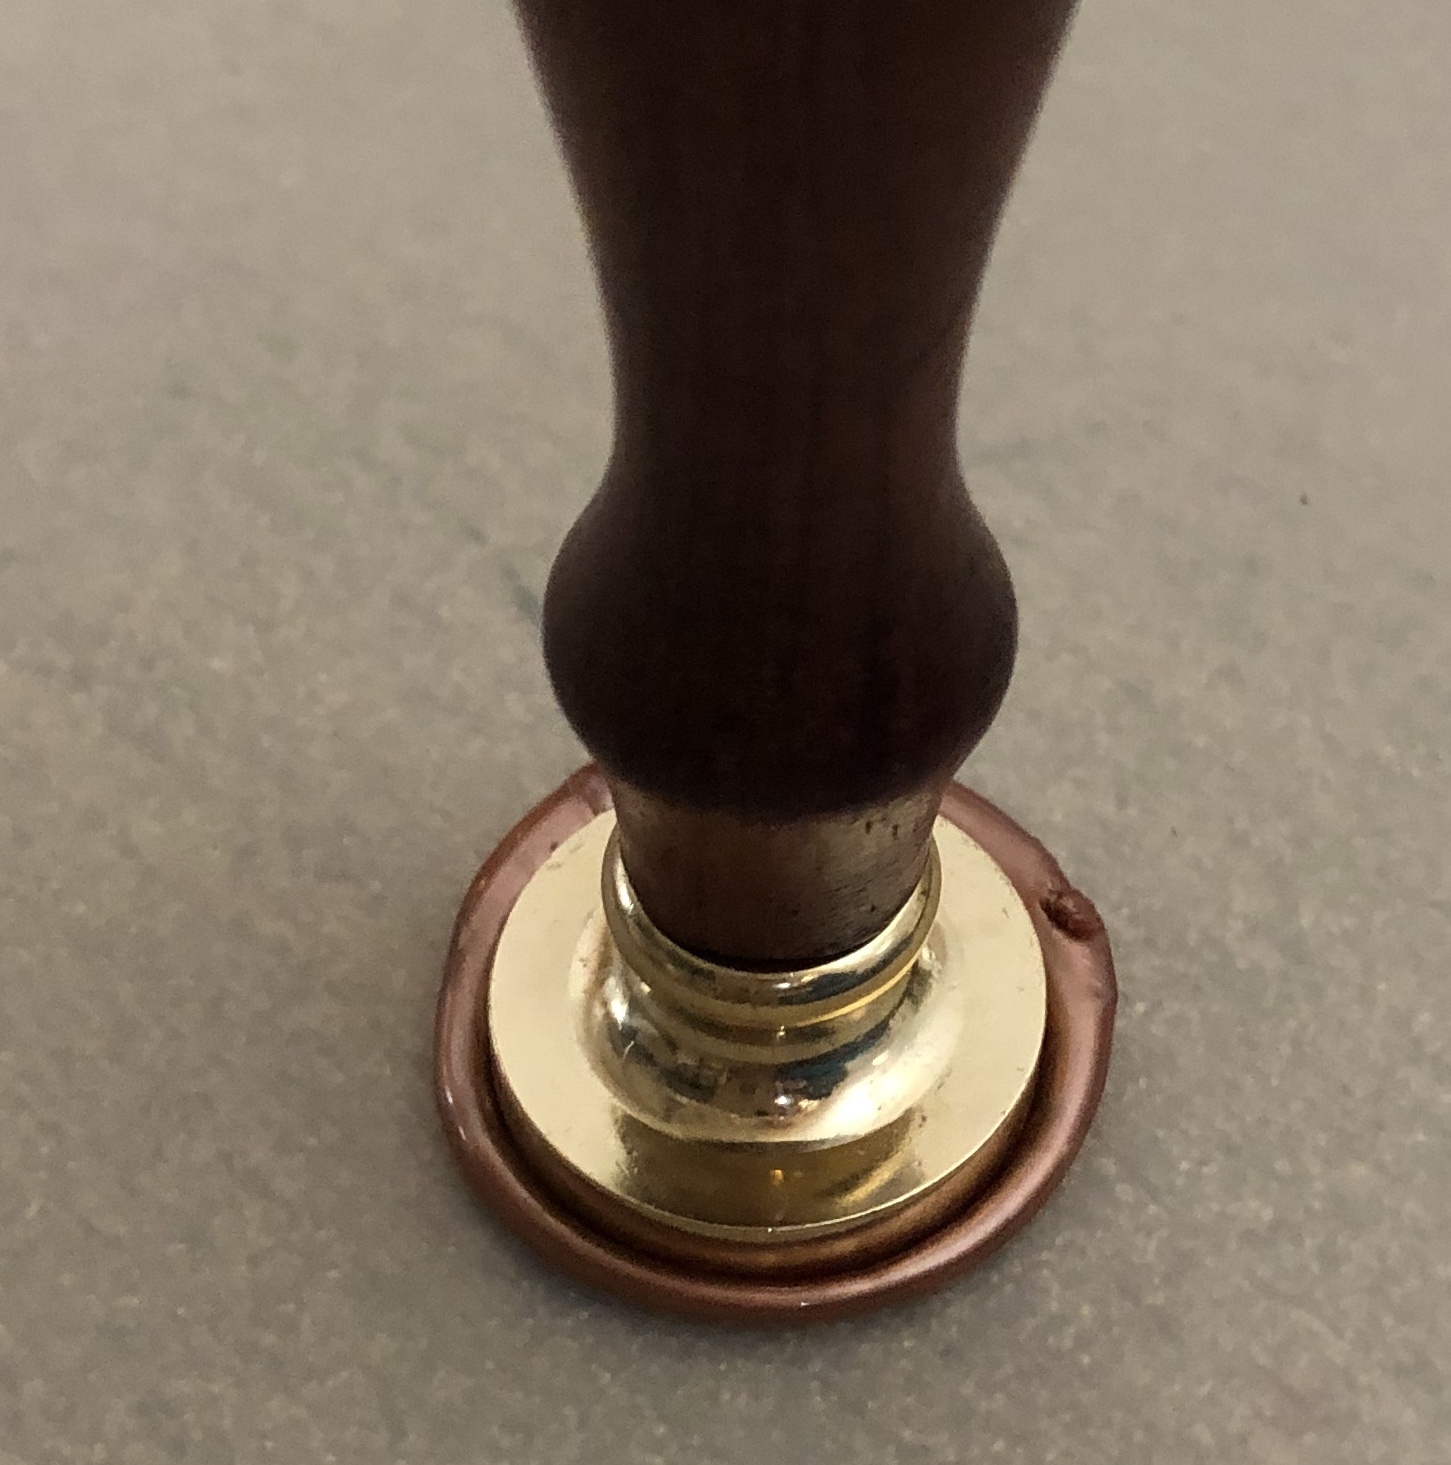

7. Try variations on the typical wax seal design. Before you apply your stamp, you can sprinkle the wax puddle with embossing powder. You can also add pigment to the stamp, to give the stamped seal come contrast. If you do not want to use an ice pack to cool your stamp, you can apply a TINY bit of olive oil so that the stamp will release.

I prefer to make a variety of stamped seals all at one timeand then store them in a container ready to use. This way, I can easily apply them to aproject in moment’s notice. When you are ready to use the seal, you can either heat up your glue gun and apply a bit of glue to the back of the seal, or just use one of the glue dots from my supply list. I find the adhesive glue dots hold well in most cases. If you are sending the envelope through the mail, then you must apply the glue directly to the envelope.
If you use the glue/wax on a wine bottle or glass, you should apply the wax directly to your bottle and then stamp so the seal conforms to shape of the bottle/glass. This also applies is you are using a wax seal to hold string onto a package. It is better to wrap the string around the package and then stamp in place.
A blank seal another alternative. When the wax of glue is still hot add sprinkles, glitter, dried flowers or even dried spices to create a very unique seal!
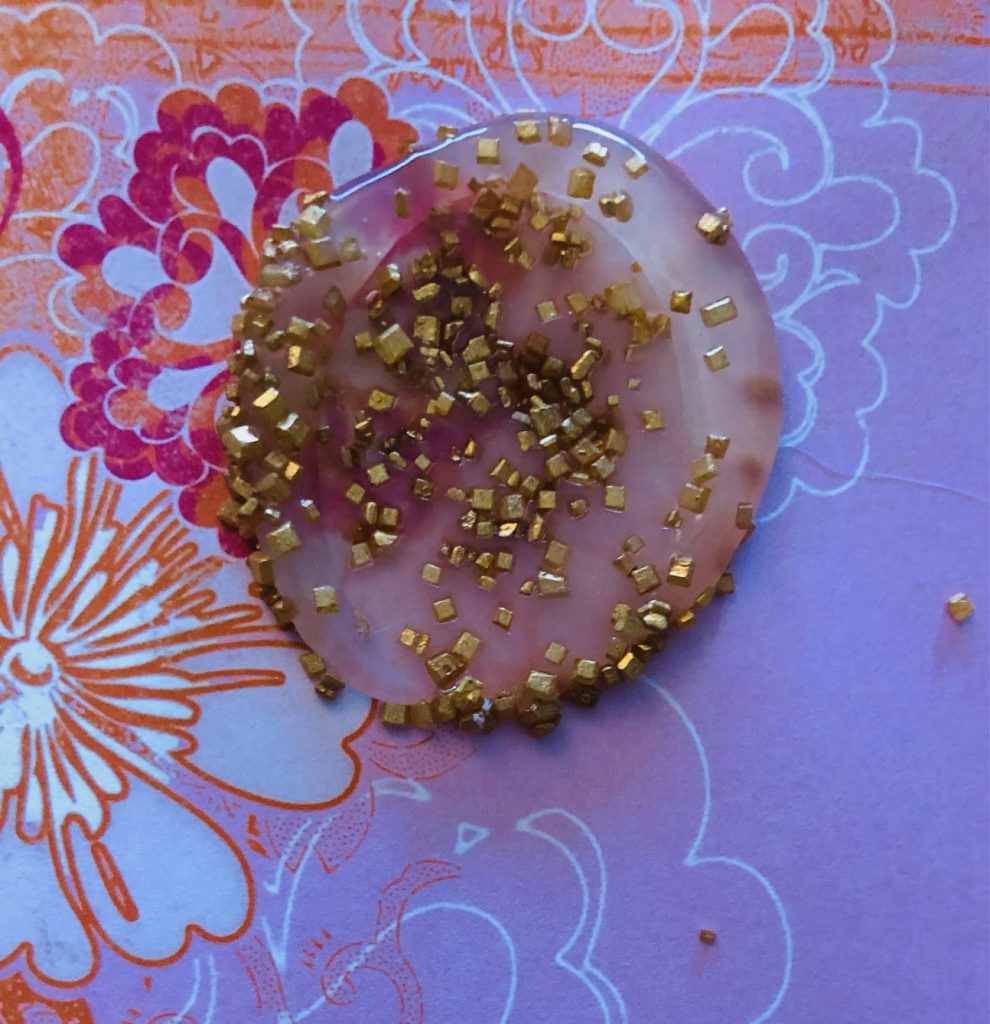
Lastly, when attaching a wax seal to paper, I love a metallic card stock as seen in the top photo!
Remember, to enjoy the process. I wish you much joy and creativity!
Brigitte Baer of Baer Design Studio

