KEYS TO SUCCESS

Setting up an awesome KEYS TO SUCCESS display at my son’s high school graduation party was my favorite project. I loved the idea of encouraging our guests to share bits of wisdom by writing it onto a tag. I thought this was the perfect opportunity to create a graduation keepsake for my son.
When I first brought up the idea to both my son and husband, they looked at me like I was a little crazy. Neither of them thought that guests would participate. Well, after we set up the display at both graduation parties (one party was in our home and the second party was a joint party held at a park in Michigan), everyone was surprised with the results.
The advice and perspective shared was abundant! I ran out of tags! It was entertaining, informative AND heartfelt. At the end of the parties, I collected the tags and put them together on a large ring which now hangs in my son’s room.

SUPPLIES NEEDED:
- large peg board (I purchased mine at Home Depot) choose your board size based on your display space
- gold glitter spray paint – Amazon
- peg board hooks – Amazon
- vintage key charms -Amazon
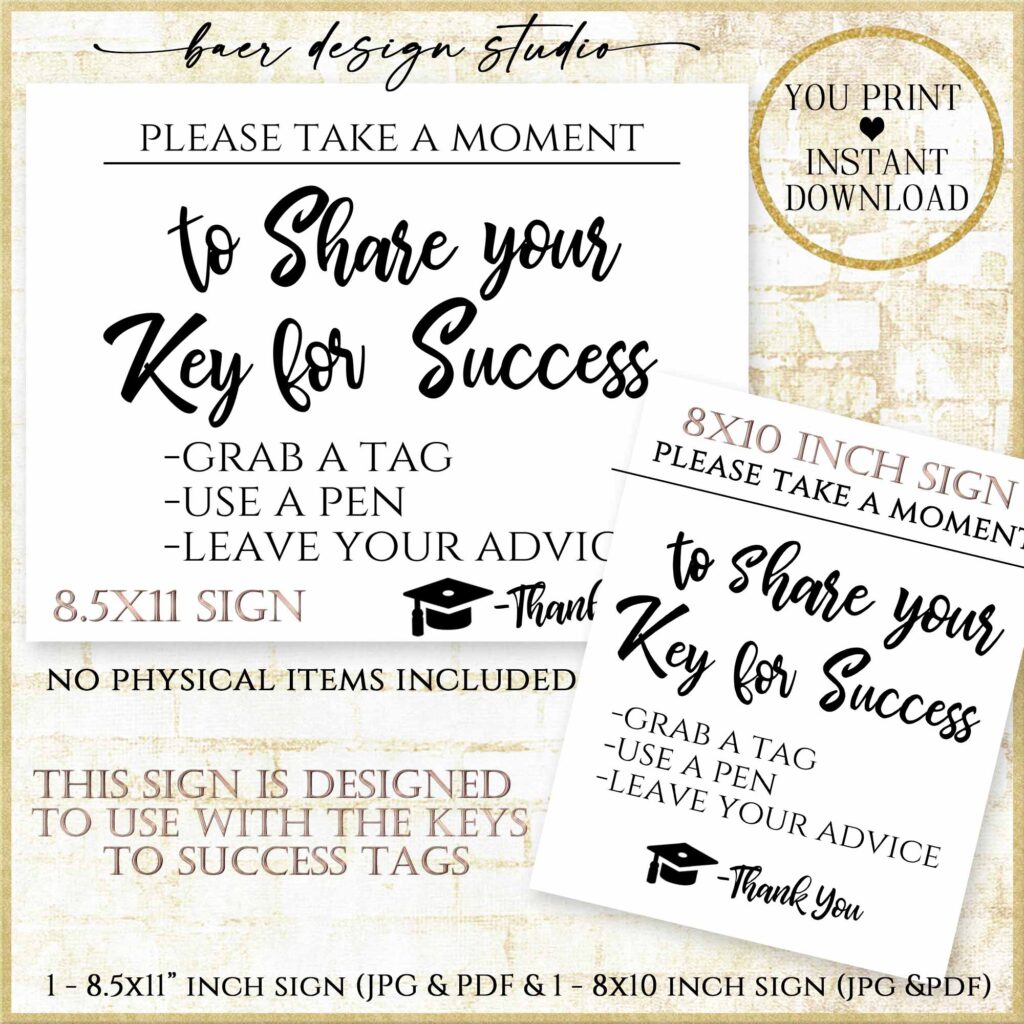
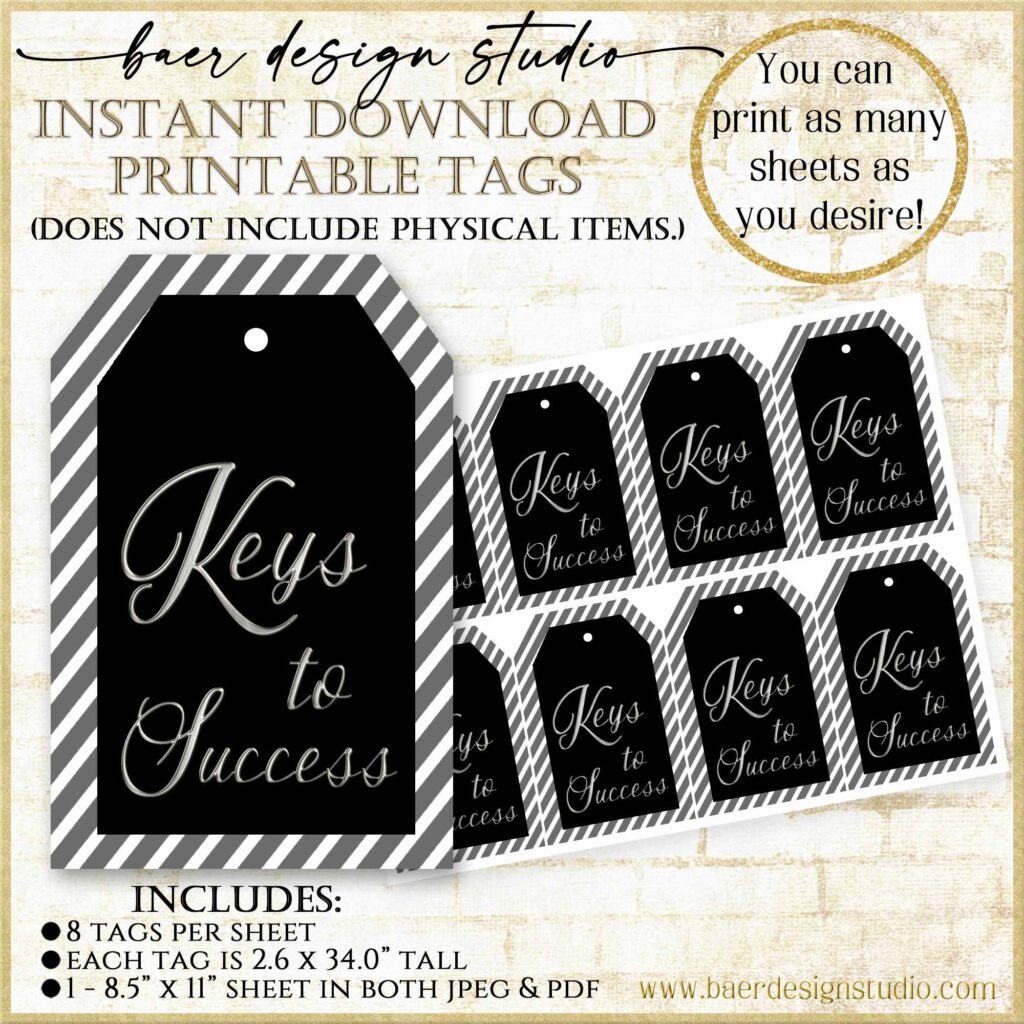
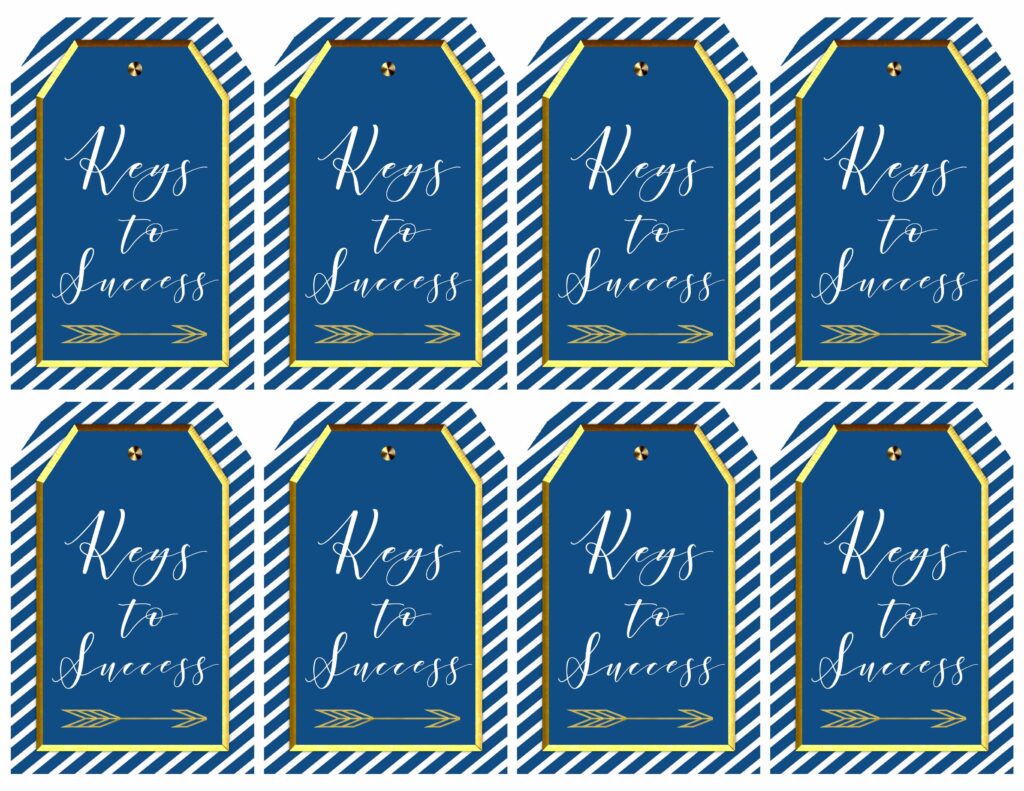
- Keys to success printables (instant download available through my website)
- paper for printing- in the top photo I used a thick card stock and in the second photo I used a Metallic card stock
- paper cutter
- hole punch
- Bakers Twine, Gold and White String
- fine tip Sharpies – Amazon
STEP ONE:
Paint the keys to success peg board the color you choose or leave as is. I chose to paint my peg board gold and then I sprayed a top coat using Krylon Gold Glitter Blast. I tried several glitter sprays and was not happy. But when I found this finish, I was so grateful, I took the time to write a review with the pros and cons. You can read it here. This finish acts as a glitter and top coat and is amazing!
STEP TWO:
Attach your hooks. I am not including any measurements, because you can decide how many hooks and tags work best for your party size and space. I choose to go with these black plastic hooks because my graduation theme was black and gold.
STEP THREE:
Download artwork, print, trim, punch hole. If you purchased the tags from my website, two of the designs do not have an indication for the hole. I did this on purpose, as you may want to adjust where you punch the hole based on the size of the vintage key you use. I also moved the type down on those tag designs so it was more visible if a larger key was used. I personally used an assortment of vintage key sizes.
You can view and purchase printable key to success tags here and the sign here


STEP FOUR:
Cut ribbon, thread through tag and attach key. In my first photo, I used a wider ribbon. In the second photo, I used a black and white baker’s twine. It was an EXTREMELY windy day in Chicago, so the photo shows the end result with all the handwritten tags. The tags and board held up very well considering the weather. The ribbons provide two separate looks but both worked well.
STEP FIVE:
For displaying the keys to success board, I used a large standing dry erase board which I draped with black fabric. I would also recommend a large easel or frame holder. Have 3-4 fine type black Sharpies available so your guest can write their advice. Lay the tags on a table, along with the pens, in a spot where your guests are comfortable and can take the time to ponder and write out their bits of wisdom.
Enjoy the process! I considered this a labor of love. A stage is ending in your child’s life so you may be feeling many different emotions. I process my emotions best when I am working on a diy project!!! Perhaps this keys to success project will bring you and others much joy as you celebrate and complete another chapter in your family’s history book!

Brigtte Baer, Baer Design Studio


