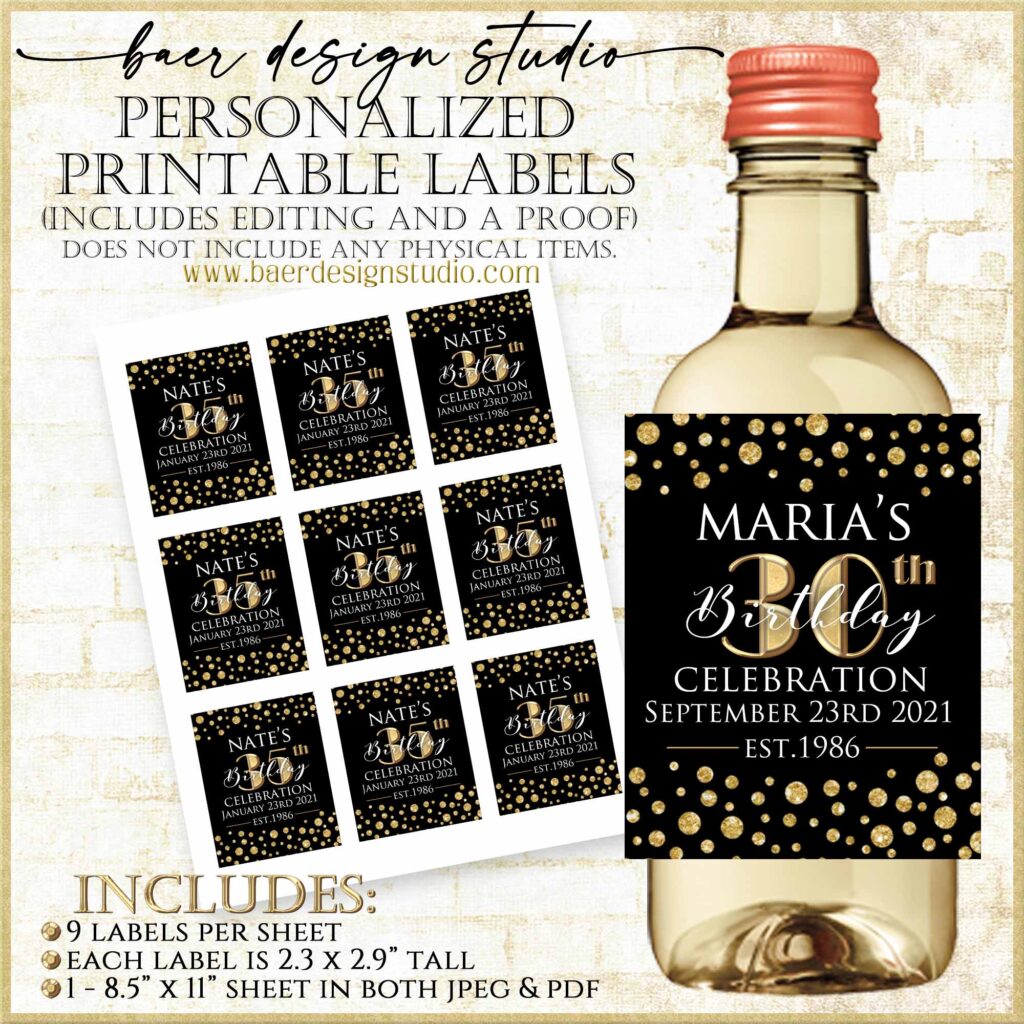
Mini Wine Bottle Labels and Mini Bottle Sticker Labels
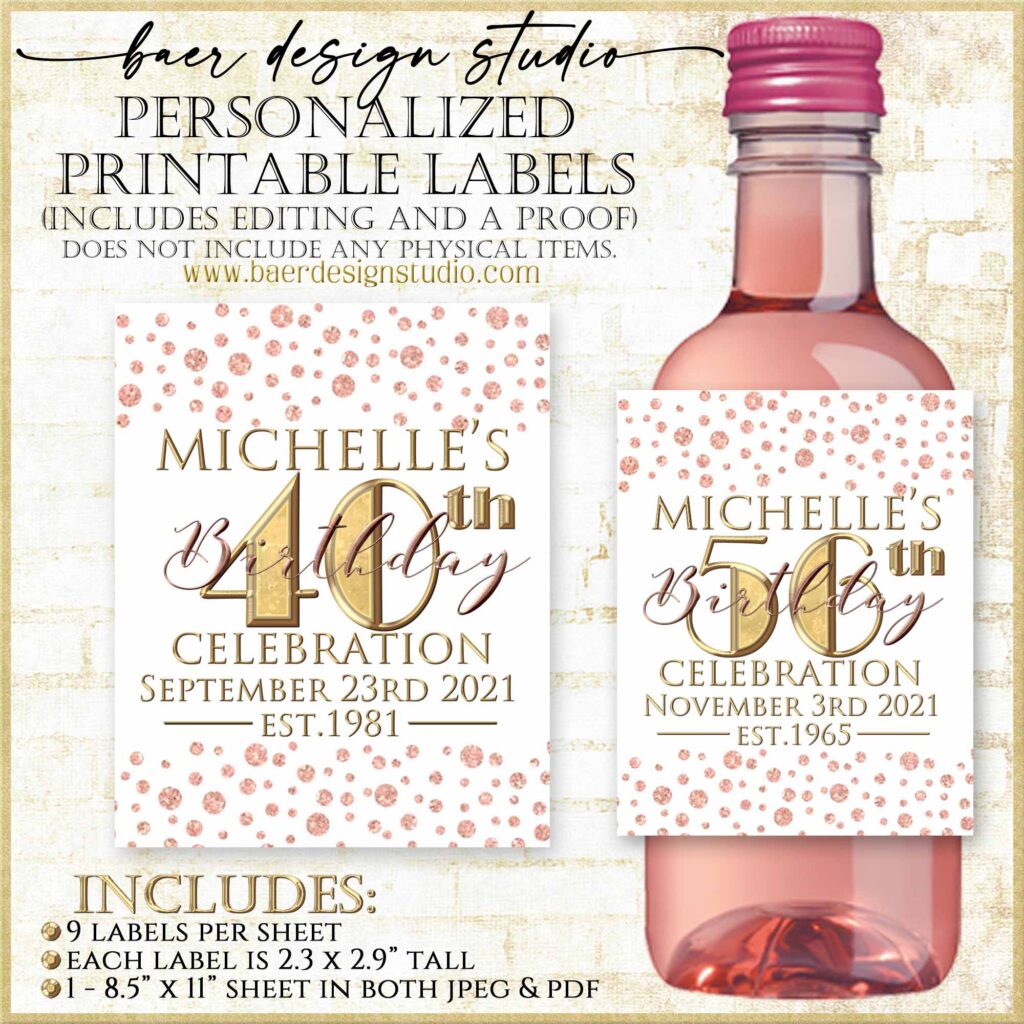
This article is written for my customers who have already purchased my downloadable images of mini wine bottle labels/mini liquor bottle labels/hand sanitizer bottle labels/wine bottle labels and want to print at home. If you are considering purchasing Baer Design Studio printable mini wine bottle labels but need more direction, reading these instructions will be beneficial.
Using a color photo inkjet printer works best. Digital label designs should be printed onto a full 8.5″x11″ sheet of adhesive backed paper and then cut out each label with a paper cutter or a sharp pair of scissors. I do not recommend using pre-cut labels papers as they are difficult to align and the paper itself is lower in quality.
1. How do I download the labels? The printable labels come as jpeg or pdf. You can open the PDF into the PDF viewer (this comes on most computers). If not, you can download Adobe reader for free here: http://get.adobe.com/reader/ or open the jpeg into a software program of your choice.
2. What type of adhesive backed paper should I use? No matter the color and design, I recommend printing onto WHITE adhesive backed paper so your images print bold and vibrant.
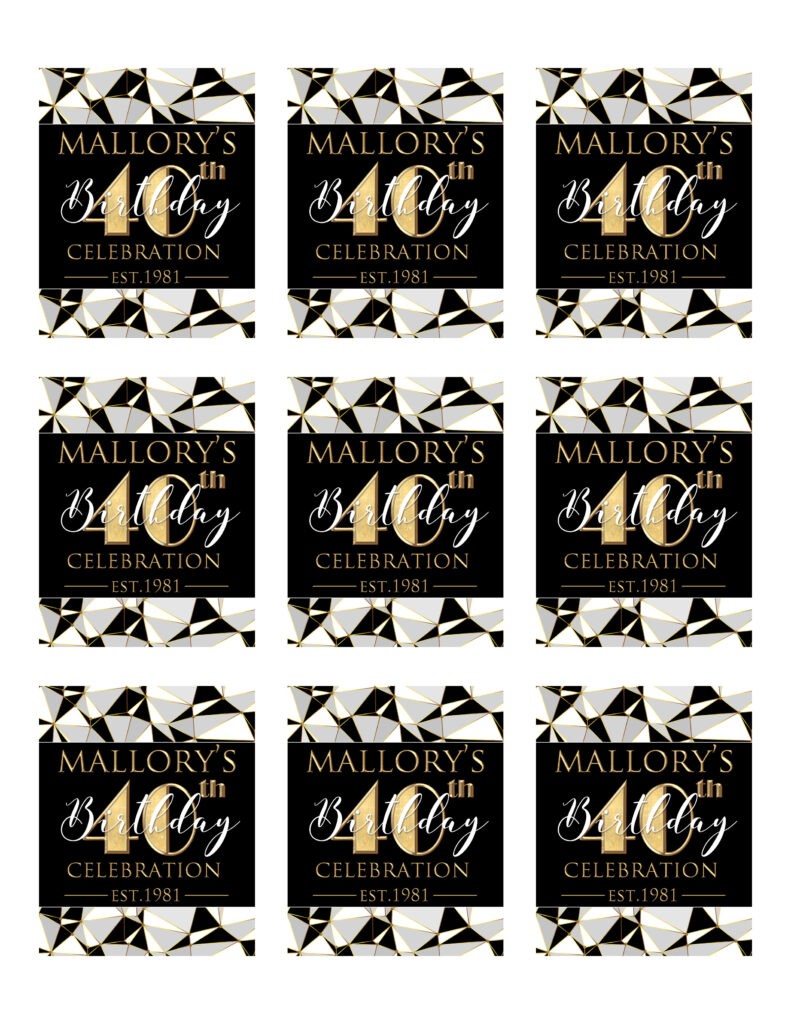
I always email my customers their labels already laid out as an 8″.5×11″printable image sheet to save you time and sticker paper. For example, the 2.3″x2.9″ label comes 9 label images per 8.5″x11″ sheet.
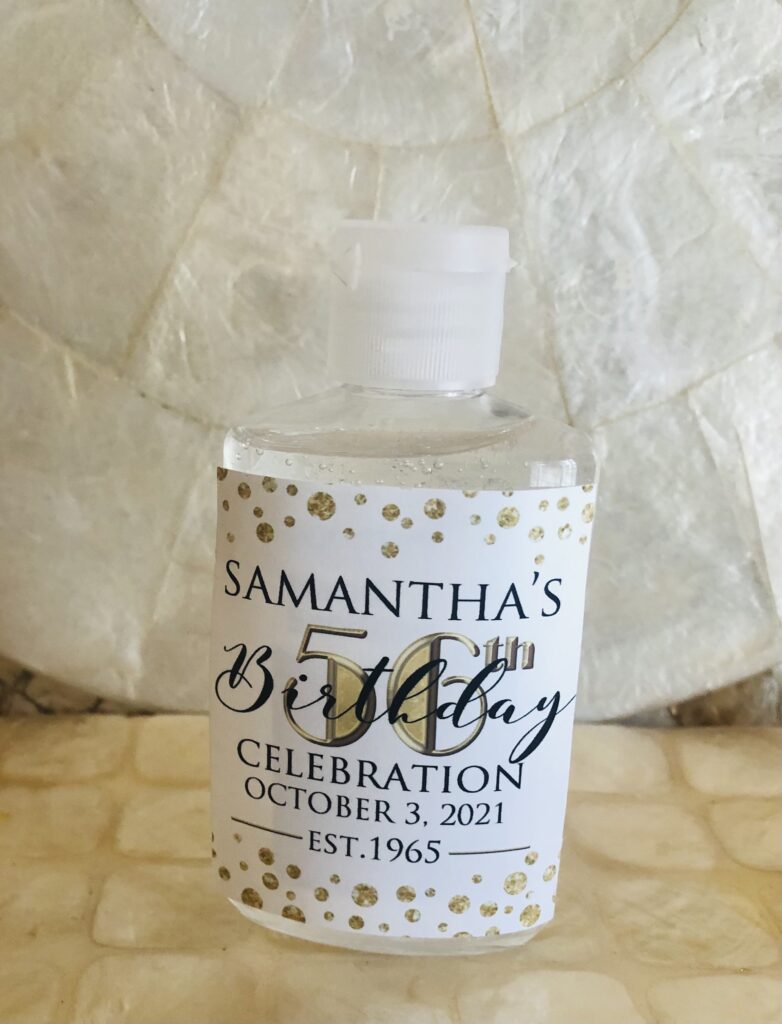
The most basic and generally the least expense printing option is a standard matte sticker paper. I keep this on hand and use it for most of my basic sticker label projects (such as young adult plastic hand sanitizer bottles) or if I am just product testing. The final prints are generally not as vibrant (but that can work out even better depending on the colors in your label design) as they appear on screen, but the print dries quickly and for the price, it works.
With the current decal craze, vinyl sticker paper has become very popular with a growing number of choices! There are lots of options based on price, thickness, adhesive (permanent or repositional), waterproof, smudge proof, drying time and even how well it works on a curved surface.
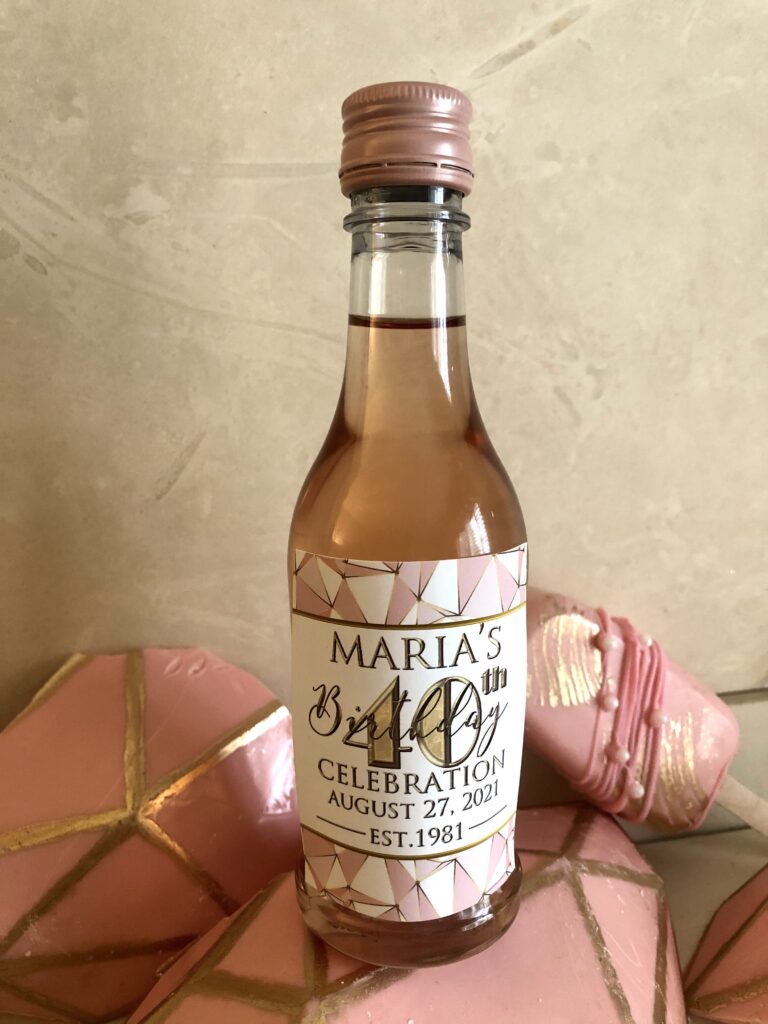
For my own mini wine bottle labels, I use a PaperVisual vinyl sticker paper that is commonly used to make decals. This sticker paper comes in matte and glossy and is waterproof so if it gets wet, the labels will not run immediately. I find that the label colors are more vibrant when using this paper. It can take up to 5 minutes to dry, so do not use if you are in a rush.
One of my favorite feature of this vinyl sticker paper is that it is repositionable. This is GOLD!!! I love to get my stickers level and it can take a few tries and this vinyl paper allows for mistakes.
TIP: When applying the label, I attach to the bottle with the center of the label first. Then I slowly continue to let the attach label to the right and to the left as I push out the air bubbles.
3. Can I use card stock? Since the labels are to be applied to a curved bottle, I do not recommend using a heavy paper. You will have to add your own adhesive and it will not adhere well as mini wine bottle labels. IF you decide to punch a hole in the corner of the label and use it as a tag, then I recommend you follow my instructions for printing tags here.
4. Why does my final print have a white border? The most overlooked component of printing at home tends to come with the printer settings. Make sure to adjust the printer settings on your color printer. Setting options will vary based on your printer manufacturer. For this reason, before you print onto a sticker paper (as there is a limited number of sheets per pack), first test your print on normal copy paper.
The majority of the time I use “BORDERLESS PRINTING” because I do not want the printer to shrink my image and to make sure there is not an additional white band added to the outer edge of my image. I always choose “BEST PHOTO”, even if I am not printing a photo (I find is best to treat my printable image as a photo not as a document). These settings are generally found under the advanced settings option.
Make sure to choose the correct “PAPER TYPE” setting. This is especially important as adhesive backed paper comes in both matte and glossy. When you are working with specialty papers, manufacturers enclose printer instructions that tell you which paper settings to use. They may or may not work for you, so print one sheet first as a test.
5. I need further help with my home printer. I have written a blog article with more detailed printing suggestions and tips.
When you find a combination that works for you, keep that stick paper in stock AND write down the printer settings (write it directly on paper packaging). This way, if months pass between printing projects, you will not have to rely on your memory or start over from scratch! I always like to keep my favorite papers in stock for all those last minute projects.
If you prefer to have your labels printed by FedEx printing, Staples, Office Max, Kinkos, etc., they will be able to guide you with their selection. Just make sure they do not guide you to a pre-cut label paper. My printable labels are not designed to fit. If they ask, you have my permission to have Baer Design Studio labels printed by a professional printer. Happy creating!
Cheers, Brigitte Baer


John
Nice one!!